Comparing Acidic vs. Alkaline Grout Haze Removers: Which Is Better?
Ah, grout haze – that pesky, milky film that lingers on your beautiful tiles after you've finally finished tiling. It’s a common issue but it doesn’t have to become a permanent eyesore. To tackle it, it’s essential to know your weapons of choice: acidic and alkaline grout haze removers. But which is better? As we dive into the nitty-gritty, I’ll arm you with the know-how needed to tackle grout haze like a seasoned pro.
Understanding Grout Haze: The Enemy in Our Midst
Before we pick our tools, it’s crucial to know what we’re dealing with. Grout haze is essentially the residue left after grouting, especially if there’s been incomplete cleaning during tile installation. It manifests as a white film, stubbornly lingering once the grout dries.
This nuisance can make an appearance on a variety of tiles – ceramic, porcelain, glass, and even natural stones. Not all grouts are equal in their haze-making potential. Epoxy grout, for example, is known for being more challenging due to its composition.
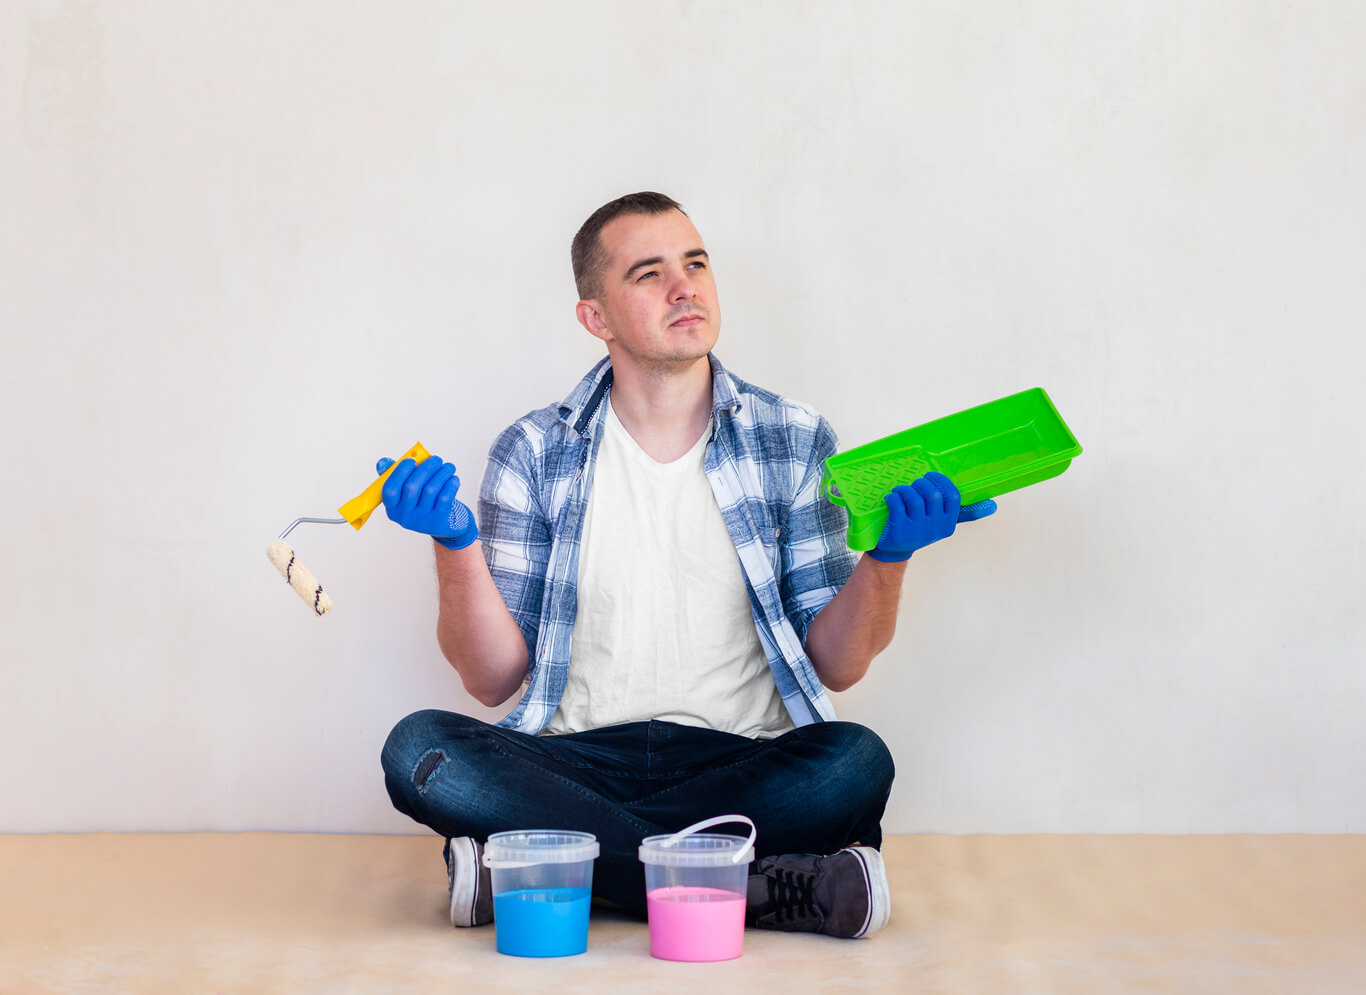
Removing Grout Haze: The Methods at Hand
Now, where’s the fun in having a problem without solutions? There are a few handy ways to tackle grout haze, and these methods can often be mixed and matched based on severity and tile type.
Dry Cheesecloth Method
This one’s a classic – and potentially the easiest. If your tiles are freshly laid and the haze is still light, a dry cheesecloth might just be your mate.
- Step 1: Allow the grout to properly dry for about 24 hours.
- Step 2: Gently wipe the surface of the tiles with the cheesecloth.
- Step 3: Finish off by sweeping or vacuuming up any remaining particles that have been loosened.
A bit of elbow grease here goes a long way and keeps your tiles gleaming.
Grout Haze Remover Chemicals
For those times when a cheesecloth just won’t cut it, commercial grout haze removers come into play. However, a word of caution: not all tiles can handle the same cleaners, so picking the right product tailored to your tiles is key.
- Product Selection: Choose the right product for your tile – avoid acidic removers for natural stone to prevent etching.
- Application: Follow the product directions to the T, whether it calls for spraying or wiping on.
- Safety First: Work in a well-ventilated area and wear protective gear — gloves, masks — the whole shebang!
The Homegrown Solution: Dishwasher Detergent and Water
If you’re feeling a bit DIY, a simple homemade mixture of electric dishwasher detergent and warm water can do wonders.
- Mix Up: Combine ¼ cup of electric dishwasher detergent with 3.5 gallons of warm water.
- Apply Liberally: Mop the affected area with this solution.
- Scrub-A-Dub: Use a sponge or white scrub pad — or for bigger jobs, a buffing machine can save backache.
- Rinse and Repeat: Rinse thoroughly with clean water, vacuuming up the residue before it lays stakes again.
The Bleaching Brigade
A bleaching cleanser might be apt when other options don’t cut the mustard. Products like Clorox Soft Scrub with Bleach can illuminate your grout ghost.
- Apply: Spread the cleanser generously over the grime.
- Scrub: Work it in using a white scrub pad.
- Rinse: Be sure to clear away any cleanser residue with clean water.
The Pros and Cons: Acidic vs. Alkaline Grout Haze Removers
So here's where we get down to brass tacks – the great debate between acidic and alkaline grout haze removers.
Acidic Grout Haze Removers
Pros:
- Highly effective on tough stains.
- Quick acting, reducing manual labour time.
Cons:
- Cannot be used on acid-sensitive tiles like natural stone.
- Require careful handling and safety measures to avoid damage and health risks.
Alkaline Grout Haze Removers
Pros:
- Safer option for a wider range of tiles.
- Less aggressive, minimizing tile damage.
Cons:
- May require more effort and multiple applications.
- Can be less effective on old, stubborn stains.
The Final Call: Which to Choose?
The right remover depends largely on the tiles you're working with and how much haze needs addressing. Acidic removers are efficient for tough stains but require a discerning eye to avoid mishaps on sensitive surfaces. Alkaline options offer broader safety but might demand more persistence.
At the end of the day, it’s about balancing effectiveness with the safety of your tiles, and of course, your well-being.
Handy Tips and Precautions
Regardless of the remover you choose, a few handy practices help ensure a smooth de-hazing process:
- Test First: Always perform a spot test in a discreet tile corner to check for adverse reactions.
- Protective Gear: Don't skimp on safety gear – gloves, goggles, and masks are your best mates here.
- Ventilation: Work in an area with good airflow to avoid inhaling any harsh chemicals.
In Conclusion
With the right approach and a thoughtful choice between acidic and alkaline grout haze removers, even the most stubborn haze stands no chance. This ordeal, though a test of patience, need not overshadow the satisfaction of a freshly tiled space.
Embrace the step-by-step approach, adhere to safety precautions, and select the cleaner best suited for your home’s ally in shine – your tiles. Before you know it, the pesky grout haze will be just a forgotten smudge in your tile-taming journey. Happy scrubbing!